The best protection for a runner’s knees and hips is not a brace or a softer shoe. It is enough strength to control each landing, push off without the knee collapsing inward, and hold good form when fatigue sets in. A short routine built around split squats, step-downs, hip hinges, calf raises, and side-plank work can do more for running durability than random gym exercises.
These movements will not guarantee that you avoid pain. They do give your hips, knees, ankles, and trunk more capacity to handle repeated impact. Use two short sessions each week, keep two or three repetitions in reserve, and increase the load slowly.
Why hip strength matters more than knee isolation
The knee follows the hip and foot
Your knee sits between two joints that strongly influence its position. The hip controls how your thigh rotates and moves inward. The foot controls how your lower leg meets the ground. During a single-leg landing, weak or tired hip muscles can let the thigh fall inward. A foot that rolls quickly can add more rotation below the knee. The knee then has to manage motion from both directions.
This does not mean every inward knee movement causes injury. Human movement is not a simple pass-or-fail test. It does mean that a runner who cannot control the leg under load has fewer options when mileage, hills, speed, or fatigue increases. Strength work gives that runner more control.
Build force, then build control
The gluteus maximus helps extend the hip during a stride and climb. The gluteus medius and other hip stabilizers help keep the pelvis level while one leg supports the body. The quadriceps absorb force and help straighten the knee. The calves manage the final part of stance and contribute to forward movement.
A strong runner needs all four areas, but the order matters. Start with controlled two-leg movements so you can learn the pattern. Move to split-stance and single-leg exercises once you can keep the pelvis steady. Add weight only when your range of motion and tempo stay consistent.
Best verdict: train the hip, thigh, calf, and trunk together. Knee-only exercises miss the way running actually loads the body.
Six strength moves every runner should learn
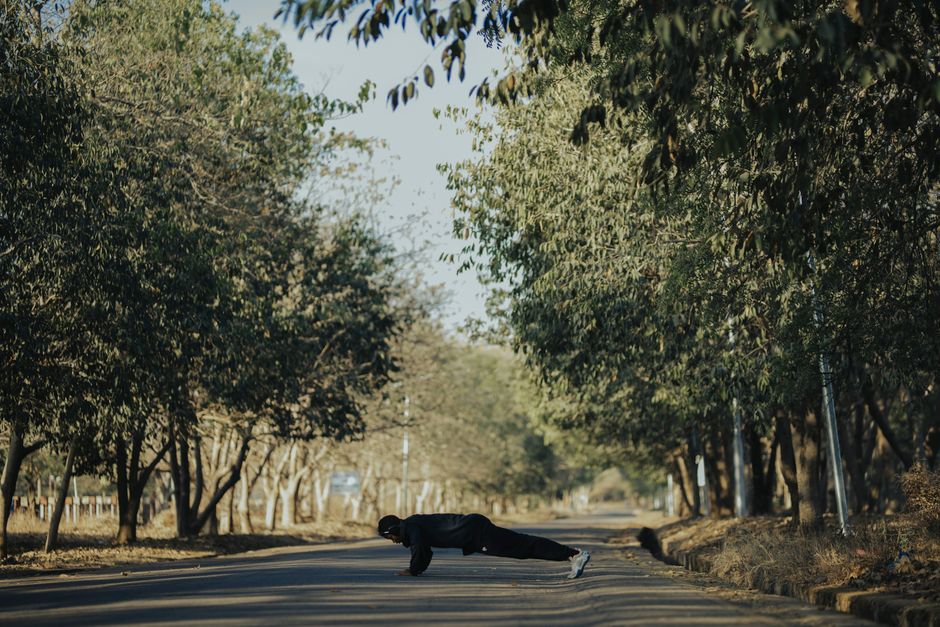
Complete this sequence twice per week. Rest 45 to 75 seconds between sets. Use a slow three-second lowering phase for the first two weeks. The aim is quiet, controlled movement, not exhaustion.
Lower-body strength block
- Rear-foot-elevated split squat: Complete 3 sets of 6 to 10 repetitions per side. Keep the front foot flat, lower until the back knee nearly reaches the floor, and drive through the middle of the front foot. Hold dumbbells only after you can keep the front knee tracking over the second and third toes.
- Single-leg Romanian deadlift: Complete 3 sets of 6 to 8 repetitions per side. Reach the free leg behind you, keep a soft bend in the standing knee, and lower your chest by pushing the hips backward. Stop when your back starts to round or your pelvis opens to the side.
- Step-down: Complete 2 or 3 sets of 8 repetitions per side from a 10 to 20 centimetre step. Lower slowly until the free heel touches the floor. The working knee should move in the same direction as the toes. Use a wall for balance if needed.
Control and lower-leg block
- Single-leg calf raise: Complete 3 sets of 10 to 15 repetitions per side. Pause for one second at the top and lower through the full range. Progress by holding a weight in the hand opposite the working leg.
- Side plank with top-leg lift: Complete 2 sets of 8 to 12 lifts per side. Keep the ribs stacked over the pelvis and lift the upper leg without rolling backward. This trains lateral hip control while the trunk resists movement.
- Wall-supported Spanish squat: Complete 2 sets of 30 to 45 seconds. Place a strong strap or band behind the knees, sit back, and keep the shins close to vertical. Use a pain-free depth. This is a useful quad-focused option when a regular squat irritates the front of the knee.
Do not rush through the list. A controlled step-down with a small range is more useful than a deep repetition that makes the pelvis twist. Stop a set when your form changes, not when the target muscle feels completely spent.
The best equipment is simple and adjustable
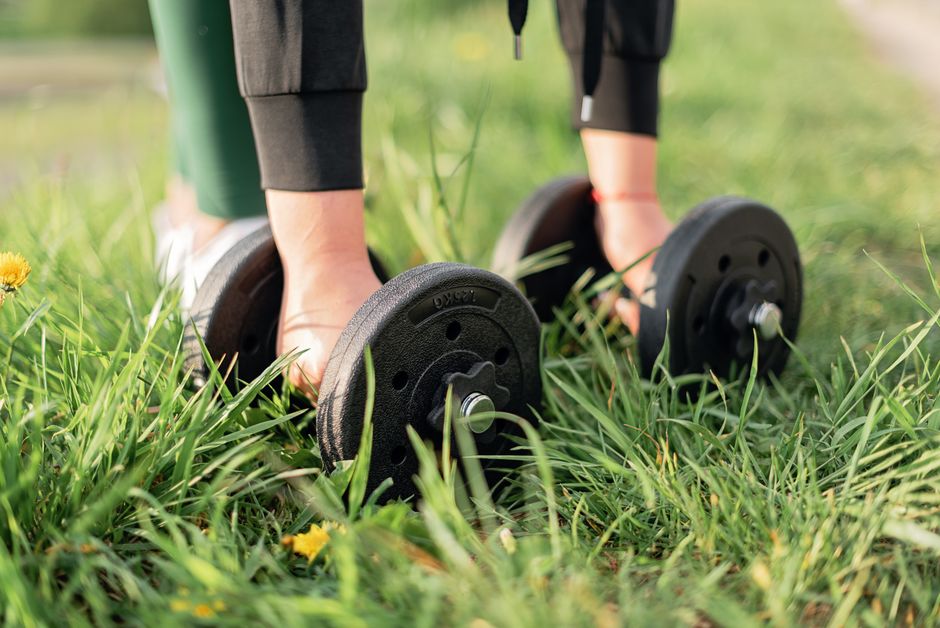
My clear recommendation is to start with body weight, one resistance band, and a pair of adjustable dumbbells. Runners rarely need a large machine collection for knee and hip strength. They need enough resistance to make six to twelve controlled repetitions challenging, plus a stable surface for single-leg work.
Useful tools at different budgets
A Theraband CLX Resistance Band, usually around $20, works well for side steps, Spanish squats, and hip-abduction drills. Its looped sections make it easier to anchor around the legs without tying a knot. For a heavier band, Rogue Monster Bands typically cost about $18 to $40 depending on resistance. The lighter bands suit warm-ups; the heavier versions work for loaded squats and resisted walks.
For home strength sessions, PowerBlock Pro 50 Adjustable Dumbbells are a strong premium choice at roughly $399. They replace several pairs of fixed dumbbells and adjust in small increments, which helps you progress without making a large jump in load. They are more equipment than a beginner needs, but they make split squats and Romanian deadlifts easy to progress.
When suspension training makes sense
The TRX Suspension Trainer, commonly priced near $229, is useful for assisted split squats, hamstring curls, and single-leg balance work. Its main advantage is support. A runner can use the straps to learn a controlled pattern before moving to unsupported repetitions. Its main drawback is that it does not provide the same simple load measurement as dumbbells, so progress can be harder to track.
Skip expensive equipment if you are still learning the movement patterns. A wall, stair, backpack filled with books, and one $20 band can cover the first several months. Do not buy a knee brace or balance gadget expecting it to replace strength. Those tools may help a specific problem, but they do not build the force or control needed for repeated running.
Best verdict: choose adjustable dumbbells for measurable progress, a loop band for hip work, and suspension straps only if you need assistance with balance or range of motion.
Runner strength mistakes that make knees feel worse
Q: Should every exercise be done on one leg?
No. Single-leg work matches the stance phase of running, but two-leg exercises let you build force with less balance demand. Start with squats, bridges, or supported split squats if you cannot control a single-leg hinge. Then progress to step-downs and unsupported deadlifts. The right level is the one where you can complete the intended range without twisting, bouncing, or holding your breath.
Q: Why does my knee hurt after adding strength work?
The most common reason is a sudden jump in total stress. A runner may add squats, increase mileage, and start hill repeats in the same week. The knee then receives more work from several directions before the muscles adapt. Cut the strength volume in half for seven days and remove the movement that causes the clearest symptoms. Keep easy walking and pain-free exercises, then rebuild one change at a time.
Q: Is soreness a sign that the routine is working?
Not by itself. Soreness shows that the body received a new demand. It does not prove that the exercise improved running or protected a joint. A better measure is performance: can you complete the same number of repetitions with better control, less wobbling, and no increase in symptoms during the next run?
Another common mistake is chasing depth. Deep squats are not automatically better for runners. Range should match your mobility, strength, and current tolerance. Use a box or support if you lose pelvic control near the bottom. Also avoid turning every session into a conditioning circuit. Short rests and high repetitions can create fatigue that hides poor knee tracking.
Seek an assessment from a qualified clinician when pain persists during normal walking, wakes you at night, causes swelling, or keeps returning after you reduce training. Strength work is useful, but persistent symptoms need a clearer diagnosis.
Best verdict: the safest progression is the one that leaves your stride unchanged. If an exercise makes you limp, shift weight, or guard the painful side, it is too hard right now.
The simplest plan is two sessions and steady progress

What to do each week
Perform the six-move routine twice weekly, with 24 hours between sessions and at least one easy running day after the harder session. Begin with two sets, use a slow tempo, and keep three repetitions in reserve. After two weeks without increased knee or hip symptoms, move to three sets or add a small amount of weight.
What success looks like
For most runners, the best target is not a dramatic gym personal record. It is a quieter single-leg landing, a steadier pelvis late in a long run, and the ability to climb or descend without the knee collapsing inward. Keep the exercises that improve those markers, remove the ones that only create fatigue, and let your running volume rise more slowly than your confidence.