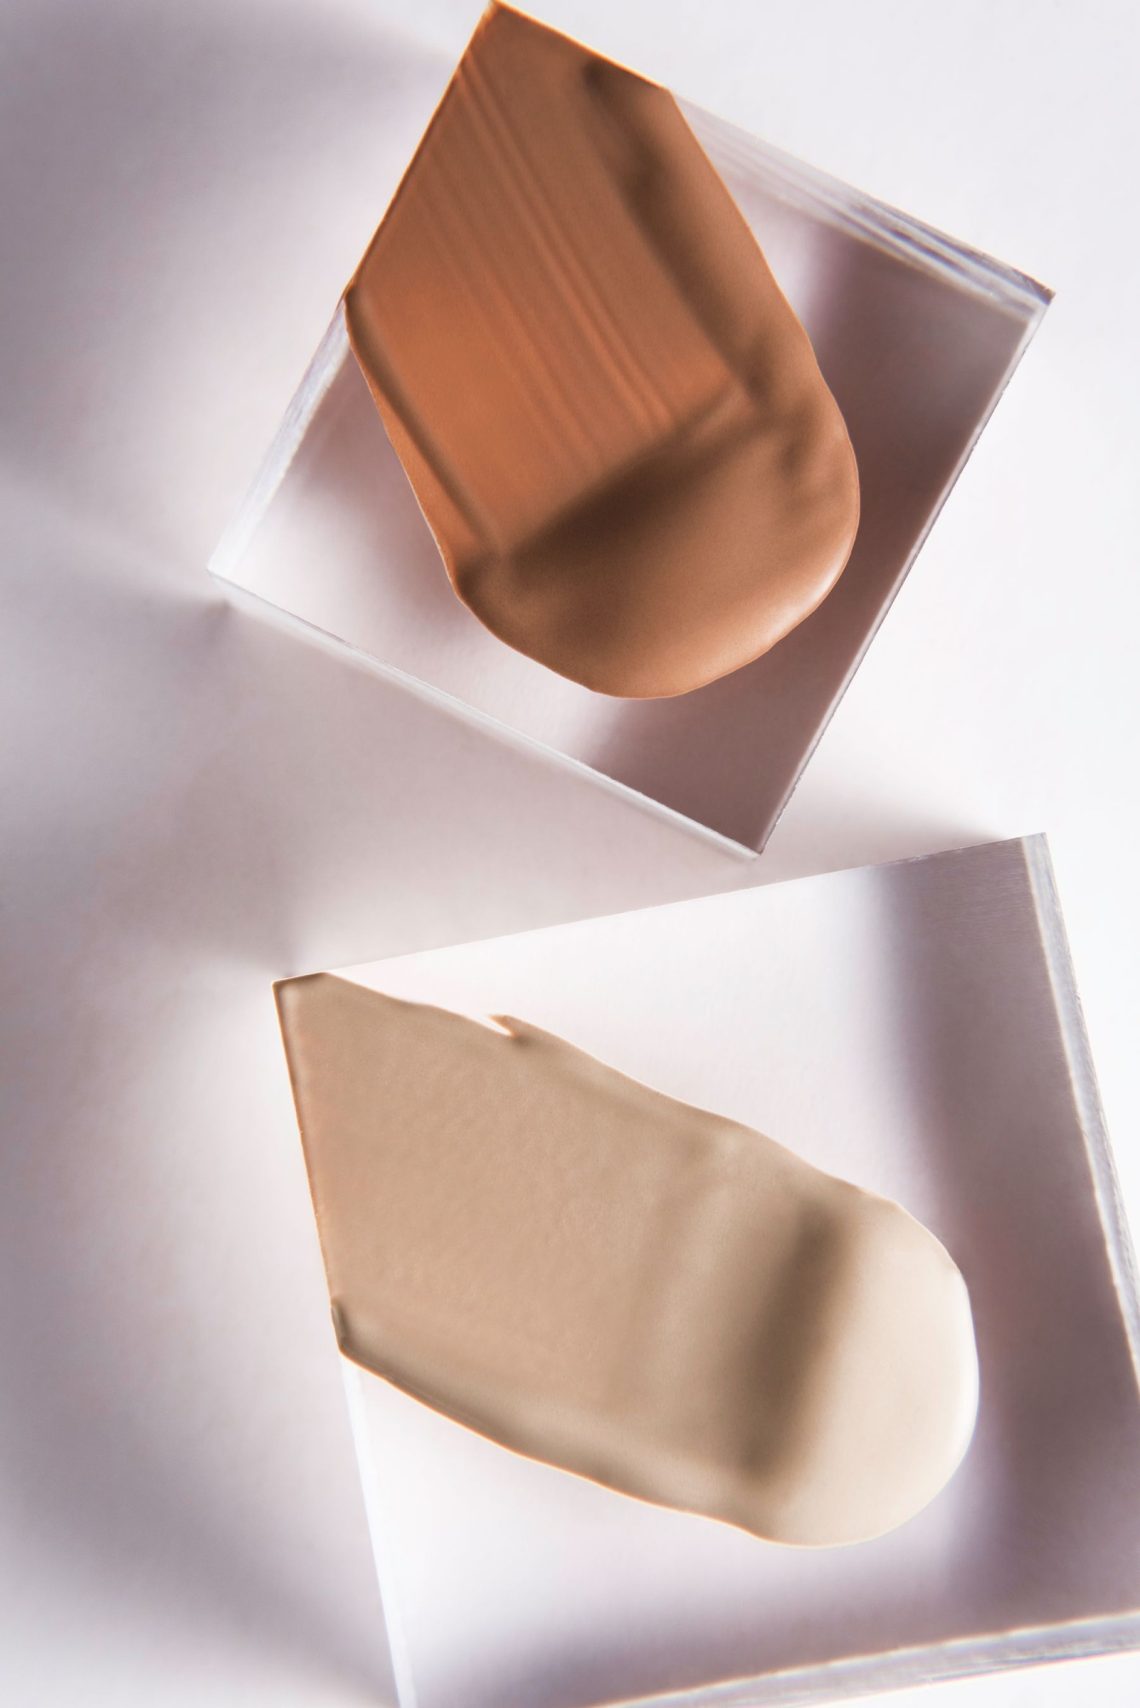
Foundation should make sense beside your face, neck and visible chest, not simply disappear on the inside of your wrist. Those areas can have different colors. A useful shade comparison therefore needs placement, consistent lighting and enough time to inspect the formula after it settles.
Separate three decisions before shopping: the depth of the shade, its color direction and the finish you enjoy. A formula can be the right depth but too pink, or the right color but more opaque than you want. Judging all three at once makes it tempting to blame every mismatch on undertone.
Choose a small comparison group
Pick two or three neighboring shades rather than covering your arm with a whole range. Start near the depth of your lower cheek. If one option looks noticeably orange and another distinctly pink, include a less strongly colored option between them when the range offers one.
Brand names for undertones are not standardized. A shade called neutral in one range may look different from neutral in another. Use the description to narrow the field, then compare the actual product. Vein color and jewelry preferences are not substitutes for seeing foundation beside your skin.
Make swatches where the edge matters
Use clean hands and a clean applicator. Follow the retailer’s sample procedure rather than placing a shared tester directly against your face. Apply narrow, separate stripes along the lower cheek toward the jaw, leaving bare skin between them. Keep each stripe thin enough to resemble a wearable layer.
Look at the transition between the swatch and surrounding skin. The strongest candidate usually attracts the least attention at that boundary. Do not choose the palest option simply because it makes the area look brighter. That brightness may become an obvious band when you apply the product across your face.
Run three lighting checks
- Inspect near a window in indirect daylight, without a colored curtain casting light onto your face.
- Check in the indoor lighting where you usually get ready.
- Step back to normal conversation distance and compare face, neck and chest together.
Phone photographs can help you remember placement, but automatic exposure and image processing change color. Avoid filters and do not make a photograph your only judge. If two options are close, a take-home sample is more informative than repeated guesses under a shop spotlight.
Let the formula settle before deciding
Inspect the swatches immediately, then again after they have dried down according to the product’s behavior. Note whether the color looks deeper, warmer or unchanged. There is no universal waiting time that predicts every formula, and a change does not prove a particular ingredient is responsible.
Use a sample for a thin half-face application with your usual preparation. Leave the other half bare for comparison. Look beside the ears, around the mouth and along the jaw. A convincing stripe is a starting point; a larger application shows whether the overall effect still belongs with the rest of you.
Keep a shade note that is actually useful
| Record | Example observation |
|---|---|
| Depth | Matches jaw, looks pale beside chest |
| Color direction | Too peach once spread thinly |
| Finish | Looks glossy around nose |
| Wear | Color stays similar after drying |
Include the full product name as well as the shade name. Different formulas from the same brand may not match despite sharing similar labels. Note the preparation used beneath the sample, because a heavily reflective base can change how the finish appears.
Know when not to force a match
If every shade in a range looks wrong, consider another range rather than planning to cover your neck with foundation. Sheerer coverage may be easier to blend with natural variation, but it cannot turn a strongly mismatched color into the right one. Keep bronzer and blush out of the comparison until you have judged the base alone.
Repeat the same process whenever your visible skin color changes enough to make the old match obvious. The goal is not to discover one permanent shade identity. It is to choose a wearable match for the face and neckline you have in front of the mirror.
Keep a clear comparison record
Label samples before taking them home and make a simple left-to-right note of the jaw swatches. Similar shade codes are easy to confuse once the packaging is out of sight. If you remove the first set and test another group, start on clean skin with the same preparation. Layering a new candidate over traces of the previous shade makes the comparison less meaningful and can hide the mismatch you were trying to identify.