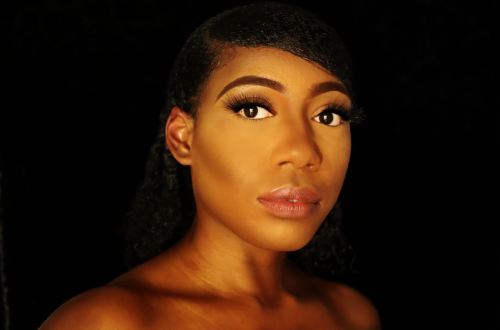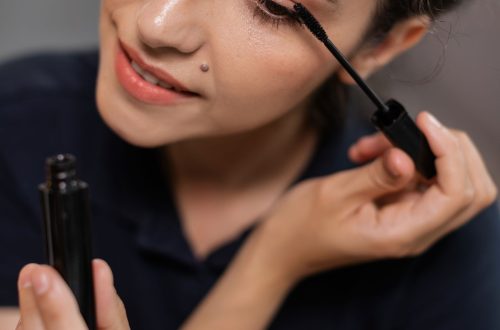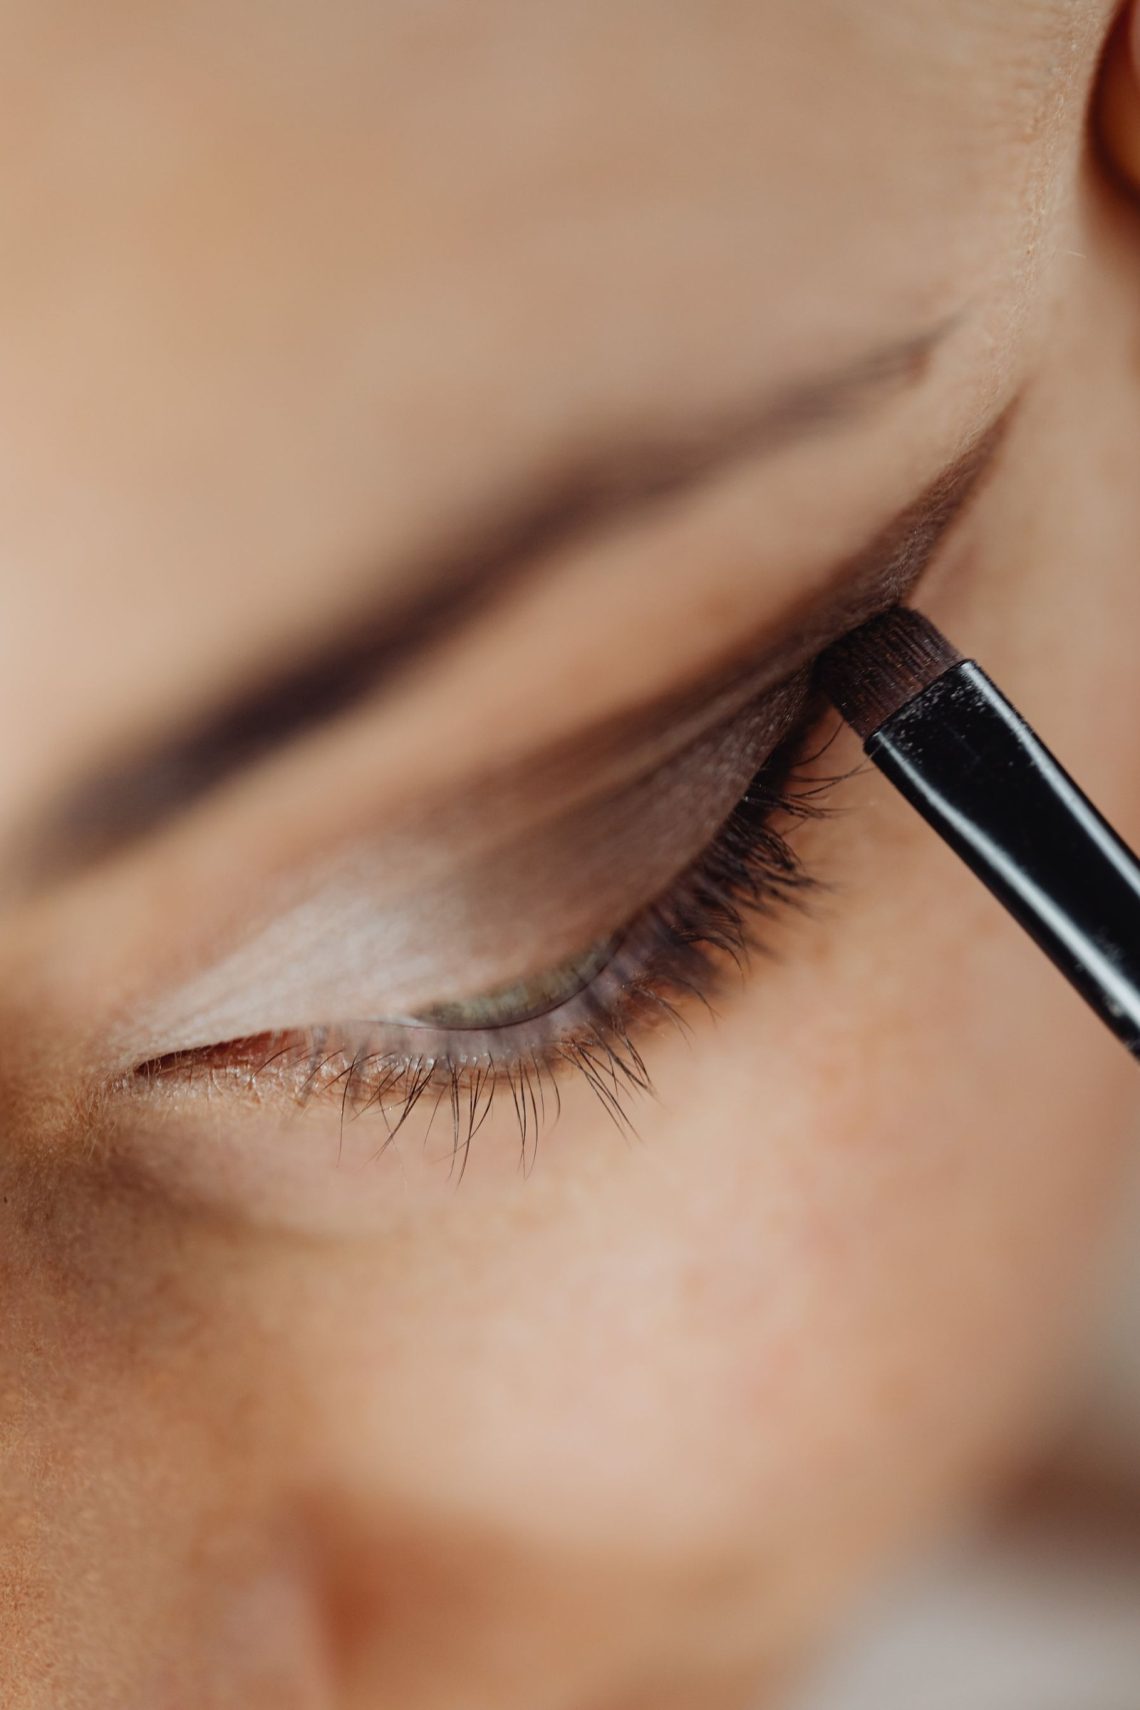
You can create a defined eye look with one powder eyeshadow by changing how much you apply and where you place it. A sheer edge, a medium wash and a denser area near the lashes can give one shade several roles. The technique depends more on controlled placement than on owning a large palette.
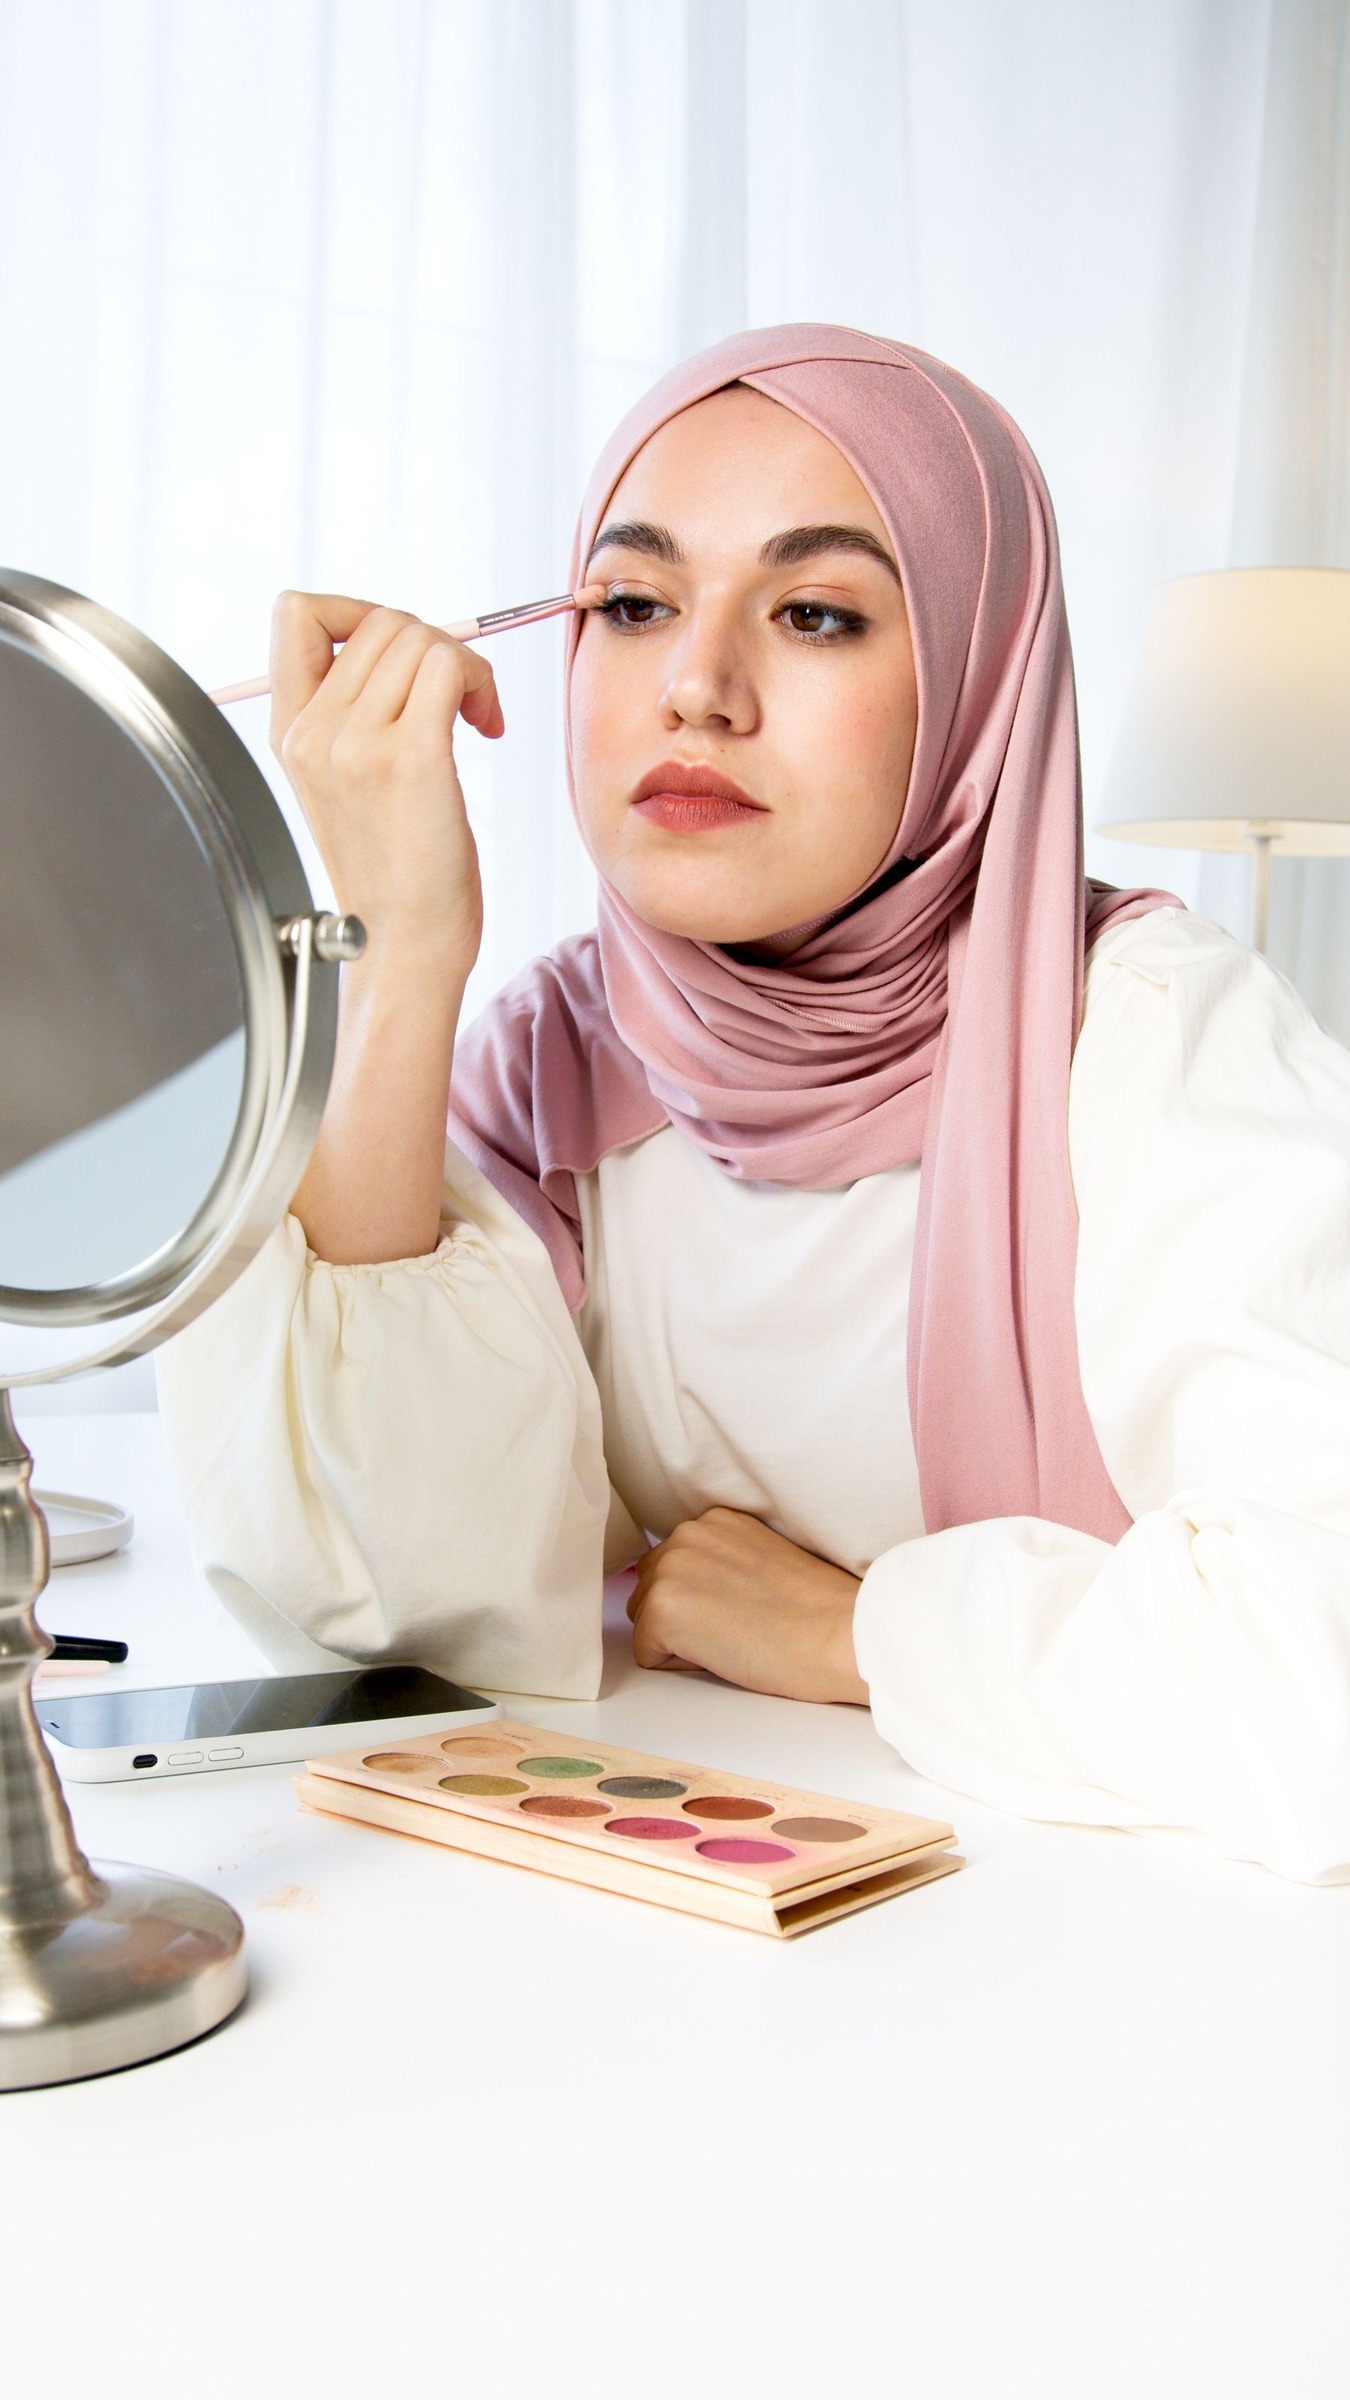
Choose a shade that is visible against your skin without being much deeper than the result you want. A muted brown, rose, bronze or plum can all work. Use a product labeled for the eye area, and start with a familiar formula rather than experimenting with loose craft pigments or products meant for other parts of the face.
Pick a finish that is easy to read
A matte or softly reflective satin is a useful starting point because you can see the color boundary clearly. A very sparkly formula may scatter particles beyond the area you intended, while a strongly metallic formula may look quite different when sheered out. Neither is wrong, but each adds another behavior to manage.
Swatch the shade with a light layer and a denser layer. If the color becomes patchy when built up, choose a formula that layers more evenly for this exercise. Do not expect every eyeshadow to produce the same range of intensity.
Set up two clean tools
Use a small shader brush for placement and a soft blending brush for the edge. A third narrow brush is optional if you want a precise line close to the upper lashes. Keep the blender relatively free of pigment so it can soften the boundary without spreading a dark cloud above it.
Begin with lids free from leftover makeup. If you normally use an eye primer, apply it according to its instructions and let it settle. Keep the preparation light and consistent. A thick, slippery layer can make it difficult to learn how the powder itself behaves.
Build the lightest area first
With the soft brush, pick up a little shadow and tap off loose excess. Look straight ahead with your eye relaxed. Place a faint wash where you want the upper edge of the color to be visible. Use tiny movements and inspect with the eye open rather than deciding the entire shape with the lid stretched closed.
For lids with a fold that covers much of the mobile lid, the visible wash may need to sit slightly above that fold. Follow what you can actually see in the mirror. There is no need to force a standard crease placement onto every eye shape.
Add a medium layer on the mobile lid
Use the shader brush to press a small amount onto the lid, keeping product out of the eye and off the inner rim. Work from the area where you want the strongest color toward the lighter area. Pressing gives more deliberate placement than sweeping a loaded brush back and forth.
Return to the clean blender only at the boundary. Do not repeatedly blend the entire lid or you may erase the difference between the sheer and medium layers. A few gentle movements are enough to check whether the transition is softened.
Concentrate the final layer near the upper lashes
With the narrow edge of the shader or a small detail brush, place another light pickup just above the upper lash line, on the outer section if preferred. Keep this band narrow. The goal is a little extra definition, not a second large patch competing with the lid color.
Check balance before adding anything else
- Look straight ahead and compare the visible height of color.
- Check that the outer boundary is soft rather than sharply squared.
- Remove loose fallout gently without dragging it across the cheek.
- Decide whether mascara adds enough definition without another shadow.
If one side is darker, soften that side first instead of continually darkening the other. If the shape spreads too far, remove a small section with a suitable remover on a clean cotton bud, then let the area dry before replacing color.
Repeat the same placement with the same shade until the sequence feels predictable. Once you can control those three intensities, changing the color becomes a simple variation rather than an entirely new makeup routine.