Cream blush and powder blush can both look subtle or bold. The useful distinction is how each formula behaves with your base, your tool and your preferred application pace. Choose the format that lets you place a small amount predictably rather than assuming one always looks more natural.
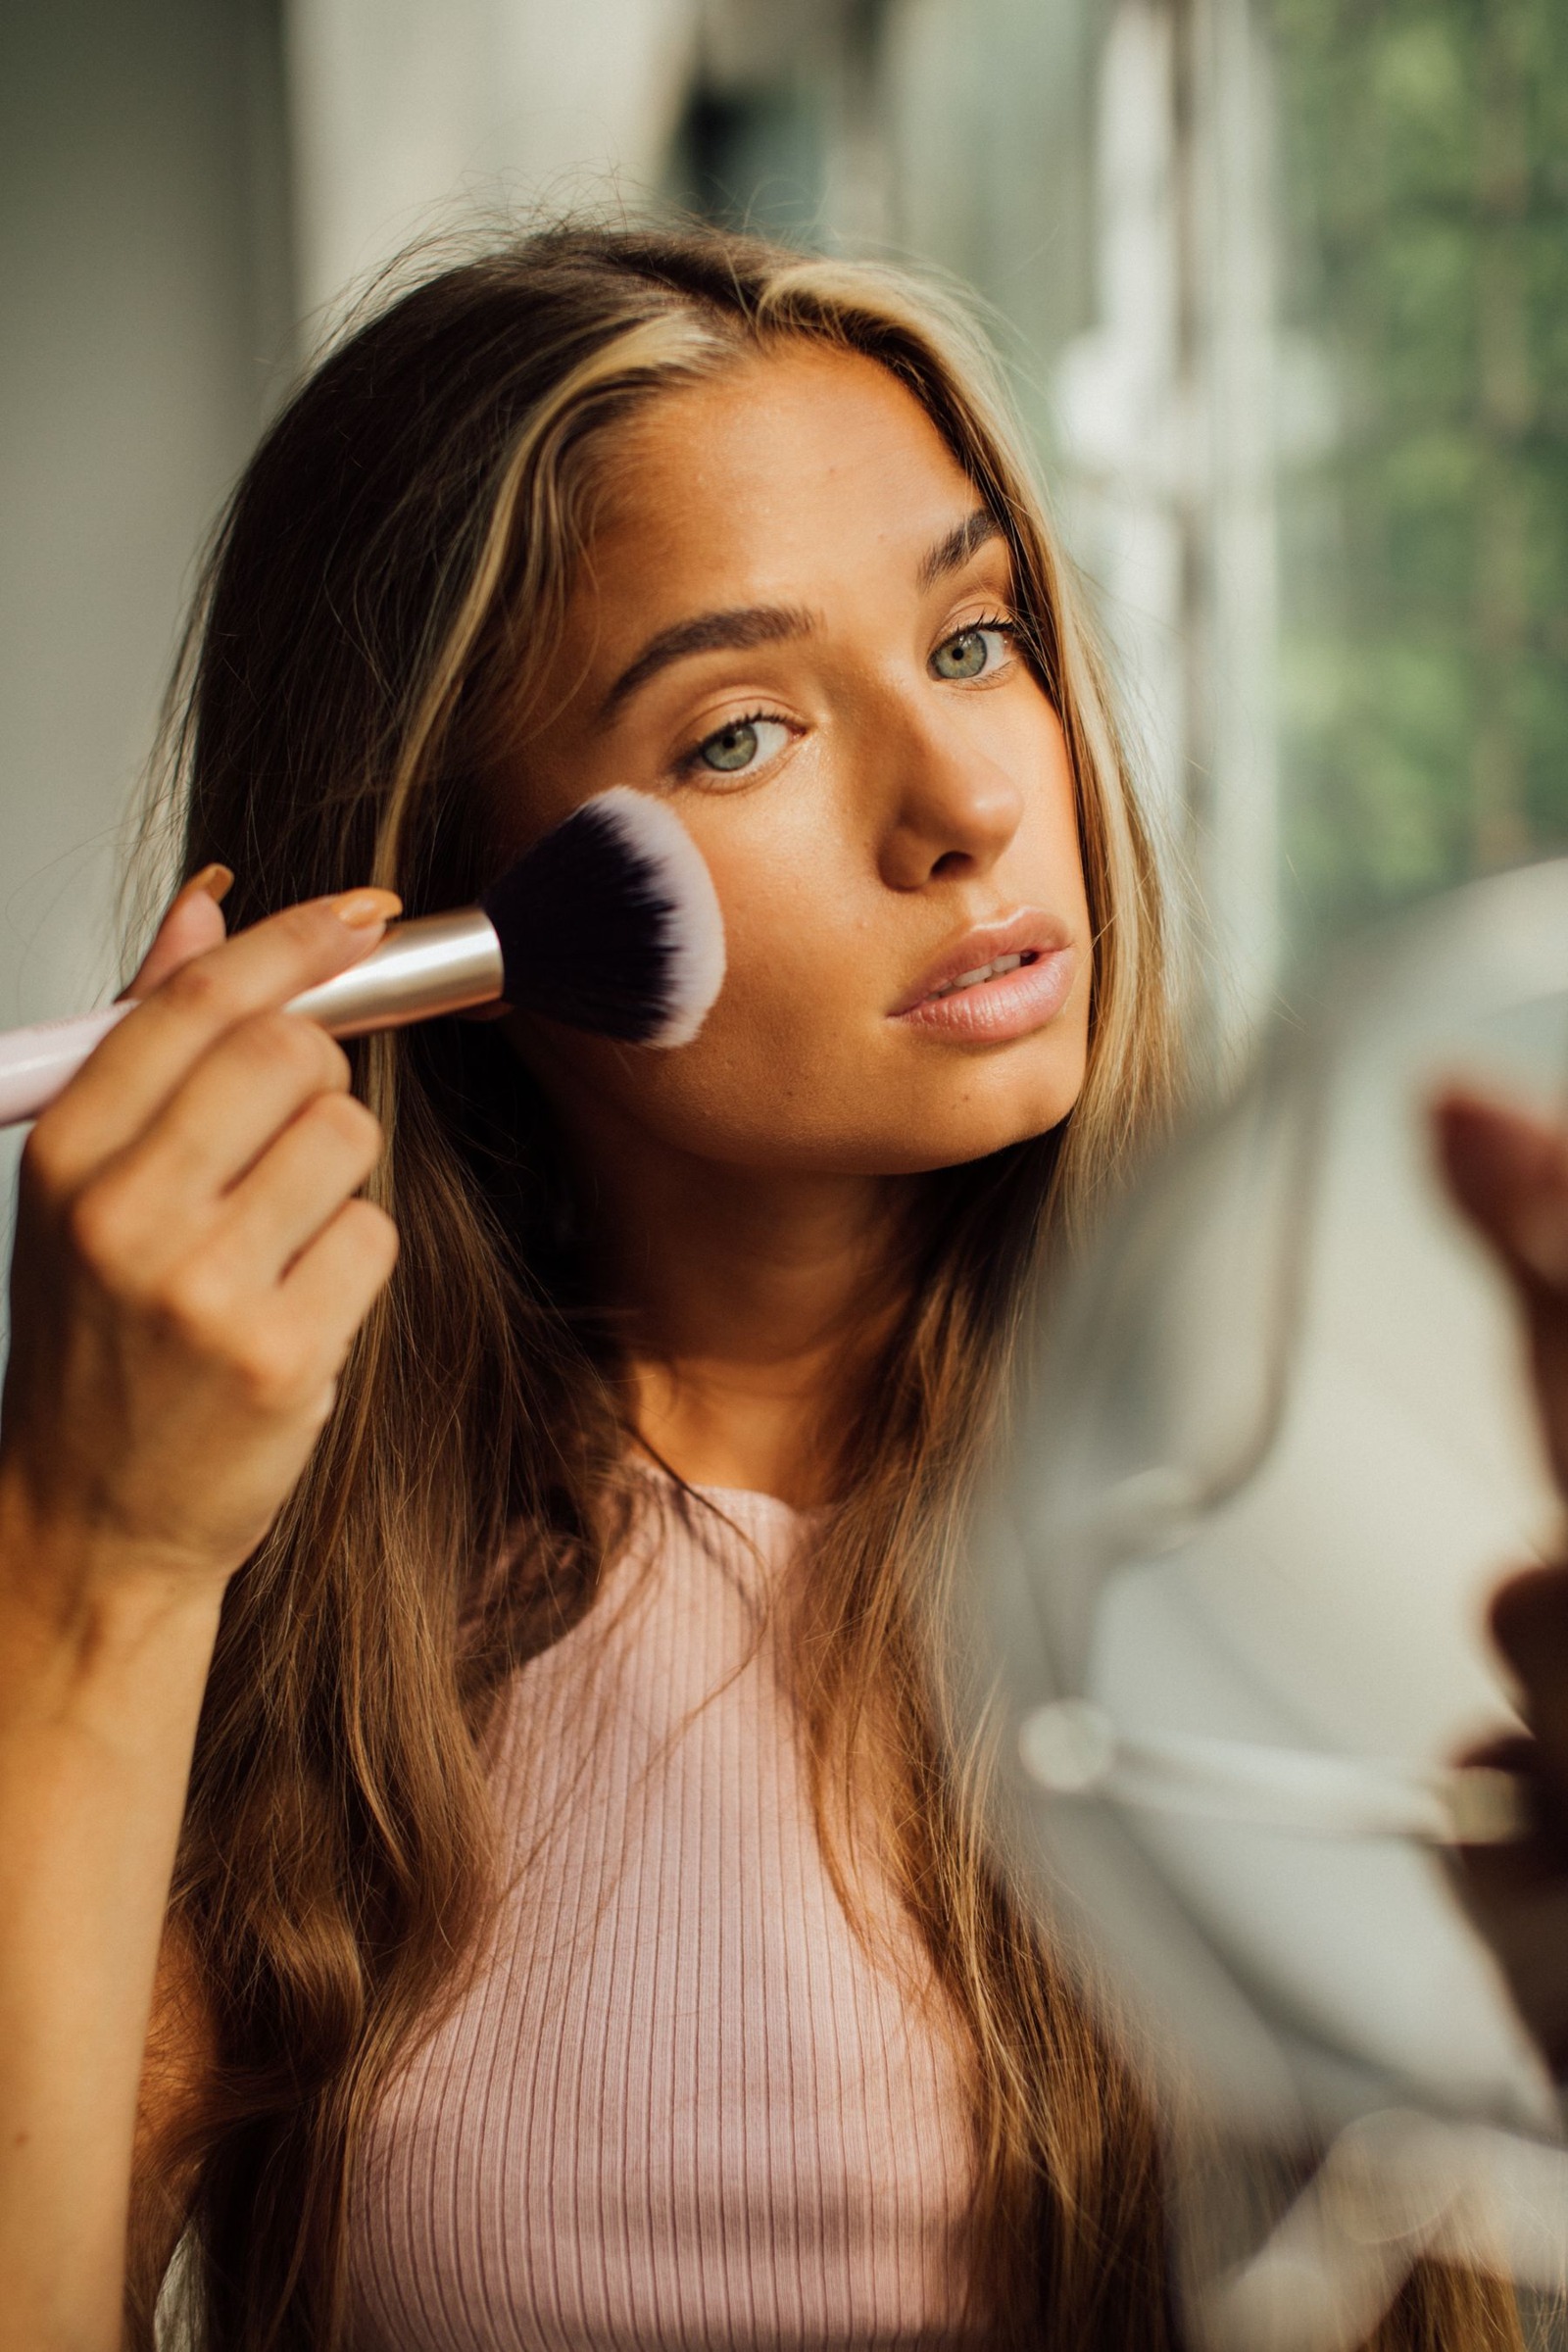
Begin with one blush and one clear placement plan. Combining several shades, bronzer and highlighter makes it harder to understand why a cheek looks patchy or muddy. Once one product works on its own, you can decide whether another layer would add anything useful.
Choose for the base you actually wear
A cream blush often spreads comfortably over a lightly set or unpowdered base, but formulas vary. Some dry quickly; others remain emollient. Powder blush is convenient over a base that is no longer tacky. Applied onto a wet patch, it may grip strongly in the first place the brush touches.
Do not reduce compatibility to a simple rule about ingredient lists. Two products described as water based can still behave differently together. The practical test is a small application over your usual base, with the amount and application method kept consistent.
| Your priority | Try first | Watch for |
|---|---|---|
| Easy gradual color | Moderately pigmented powder | Too much pickup on the brush |
| A softly reflective finish | Cream with a finish you enjoy | Moving the foundation beneath |
| Precise small placement | Cream applied with a small brush | Depositing a large dot directly |
| A less shiny cheek | Matte or satin powder | Extra powder emphasizing texture |
Find the color zone with a relaxed face
Look straight ahead without a broad smile. Identify the cheek area you want to color, then keep the first application inside that area. A small patch can be extended; a wide patch takes longer to correct. Avoid relying on a face-shape diagram if its suggested position does not suit your features.
Turn slightly and check the side view. The color should have a softened border rather than a horizontal stripe ending abruptly near the ear. Compare both sides from straight ahead, but allow for natural differences in cheek shape and lighting.
For cream: load the tool first
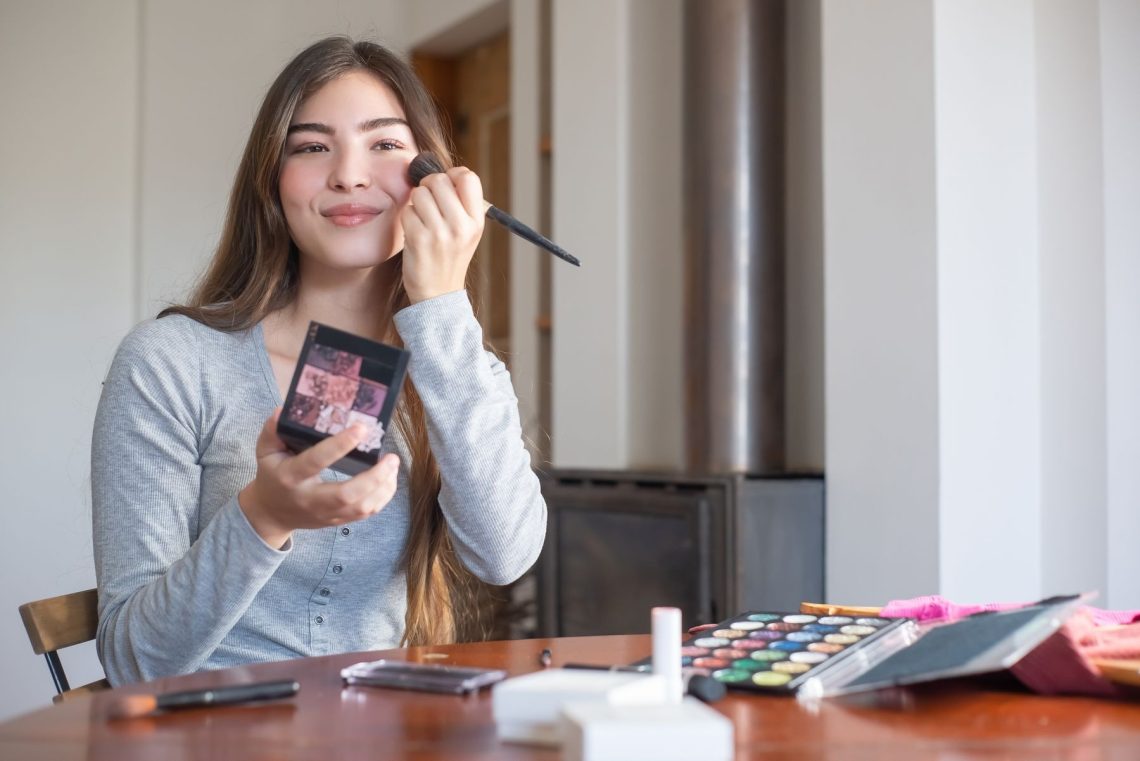
Put a small amount on a clean palette or clean fingertip. Touch a brush to it, distribute the product through the tips and press onto the cheek in short movements. This is easier to control than placing a large, highly pigmented dot on the face and trying to spread it before it sets.
Use a clean edge of the brush or a separate clean tool to soften the outside. If foundation lifts, reduce pressure and the number of passes. Try pressing instead of rubbing. If the pairing repeatedly separates, test the blush over a simpler base on another day.
For powder: approach with a light pickup
Touch the brush to the pan, tap off loose excess and place the first touch where you want the most color. Use short, light sweeps to distribute it outward. Keep the bristles from flattening completely. Several controlled passes are easier to assess than one loaded sweep from nose to temple.
Layer only after the first product looks right
If you enjoy powder over cream, let the cream settle before testing a small amount of powder. Choose a compatible color rather than adding a contrasting shade automatically. The purpose might be to soften shine or reinforce color, but neither step is mandatory.
Do not use powder blush to conceal a visibly uneven cream application. Smooth or reduce the uneven area first. Layering different textures over a patch often makes its boundary more obvious, especially when the shades have different undertones.
Rescue excess without covering the whole cheek
First stop adding color. With a clean tool, soften the perimeter. If the center is still too strong, press lightly with the tool you used for foundation, using only its remaining trace of product. Inspect before adding fresh base, which can create a heavy spot.
Keep a short note about the successful combination: blush formula, brush, placement and whether the base was powdered. Repeating a reliable sequence gives you a clear starting point when you change shades, without turning everyday cheek color into a complicated layering exercise.
Use separate pickup and blending checks
When learning a strong shade, finish one cheek before loading the brush for the second. Notice how much product remained after softening the edge. If the first cheek required several corrective passes, use less on the other side. This turns the first application into useful information rather than repeating the same excess twice. Compare the pair in even light before deciding one cheek truly needs more color.