Braid waves are the bends left in hair after a braid is released. They are different from round curling-iron curls, and the result depends on your natural texture, braid size and where the weaving begins. Setting a realistic target makes the technique more useful than expecting every hair type to produce the same photograph.

Begin with a daytime trial when you have time to let the hair dry fully and assess the result. You do not need to sleep in tight braids or pull at the roots. A comfortable practice session lets you change one detail without planning your whole morning around an unfamiliar style.
Choose the wave pattern before dividing the hair
One large braid usually leaves broader bends through the lengths. Two braids can distribute the pattern more evenly across both sides. Several smaller braids create a more closely spaced, crimped effect. These are starting points, not fixed outcomes, because hair length and natural texture change the appearance.
Also choose where you want the waves to begin. A low braid leaves the roots relatively untouched. Beginning higher places bends closer to the head, but there is no need to weave tightly against the scalp. If you want a smooth crown with movement below the ears, low loose braids are a sensible first test.
Prepare manageable sections
Use your normal gentle detangling method before braiding. If your hair is easier to arrange with a little water, begin lightly damp rather than soaking wet. Dense or long hair can take considerable time to dry inside a braid. The goal is a section that can dry comfortably during the time you have available.
If you use a styling product, choose one you already know and follow its instructions. Start without multiple layers of mousse, cream and oil. Too many changes make it difficult to know whether the braid pattern or the product combination caused a sticky, limp or uneven result.
Keep the sections comparable
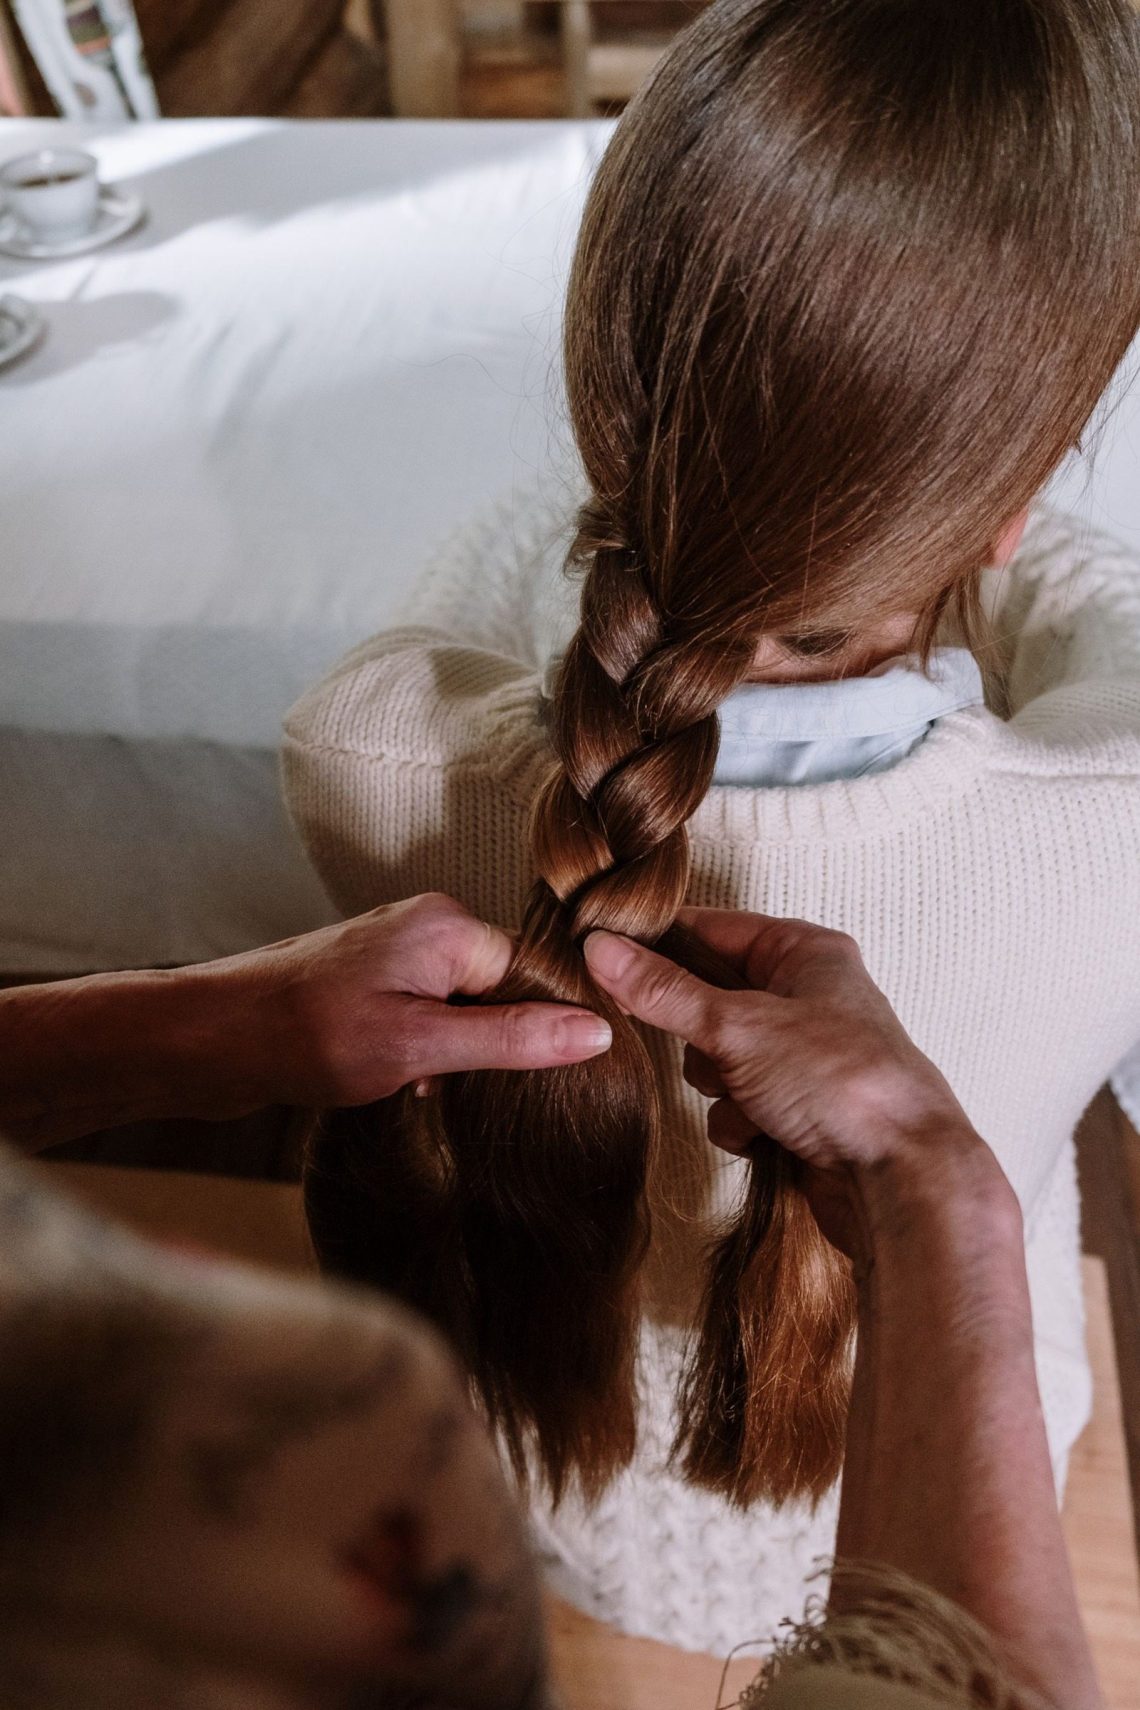
For two braids, divide the hair into roughly similar amounts, accounting for your usual part. Each braid needs three reasonably even strands. A very thin strand can disappear into the weave early and produce a different pattern near the ends.
Keep your hands relaxed and weave with consistent, gentle tension. If the scalp pulls or the braid feels uncomfortable, loosen it. A tighter braid is not automatically a better wave, and comfort matters more than making every crossing identical.
Decide how to finish the ends
Stop the weave where the remaining hair becomes too short or uneven to braid comfortably. Secure with a smooth, suitable hair tie without winding it excessively tight. Leaving a long straight tail produces a visible change between the waved section and the ends.
If that change looks too abrupt, try braiding slightly farther down next time or choose a deliberately looser pattern throughout. Do not force fragile-looking ends into a tiny, hard knot. A soft, slightly straighter finish can be part of the style rather than a flaw to conceal.
Release only when the hair is dry
Check the inner sections, not just the outer surface. Releasing a braid while the inside is still damp can give a less defined result as the remaining moisture dries. Allow more time or use smaller sections for your next attempt rather than pulling the braid tighter.
Remove the tie carefully, then unwind from the ends upward with your fingers. Do not drag a brush straight through if you want to preserve the visible pattern. Separate a few sections with your fingertips and pause before adding more volume.
Adjust one feature on the next attempt
| Result | Useful adjustment |
|---|---|
| Bends too closely spaced | Use fewer, larger braids |
| One side more defined | Compare section size and dryness |
| A sharp bend near the tie | Secure more loosely with a suitable tie |
| Too much separation at the top | Begin the braid lower |
Record the number of braids, how damp the hair was and where each braid began. Those details make a pleasing result repeatable. Accept some variation from your natural texture and weather rather than continually adding product to force a perfectly uniform wave.
Account for layers around the face
Short front layers may slip out before the rest of the braid is finished. Leave them loose if catching them would require pulling the braid tight. You can arrange those sections separately with your usual gentle styling method after releasing the lengths. In your notes, distinguish an escaped short layer from an uneven wave: one is a haircut detail, while the other may respond to changing section size or drying time.