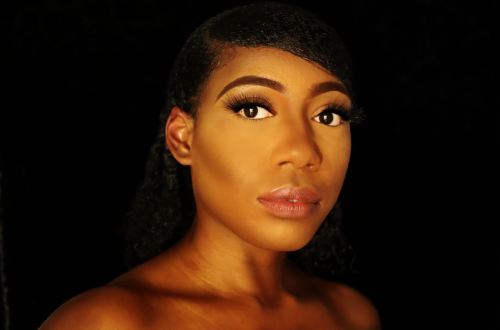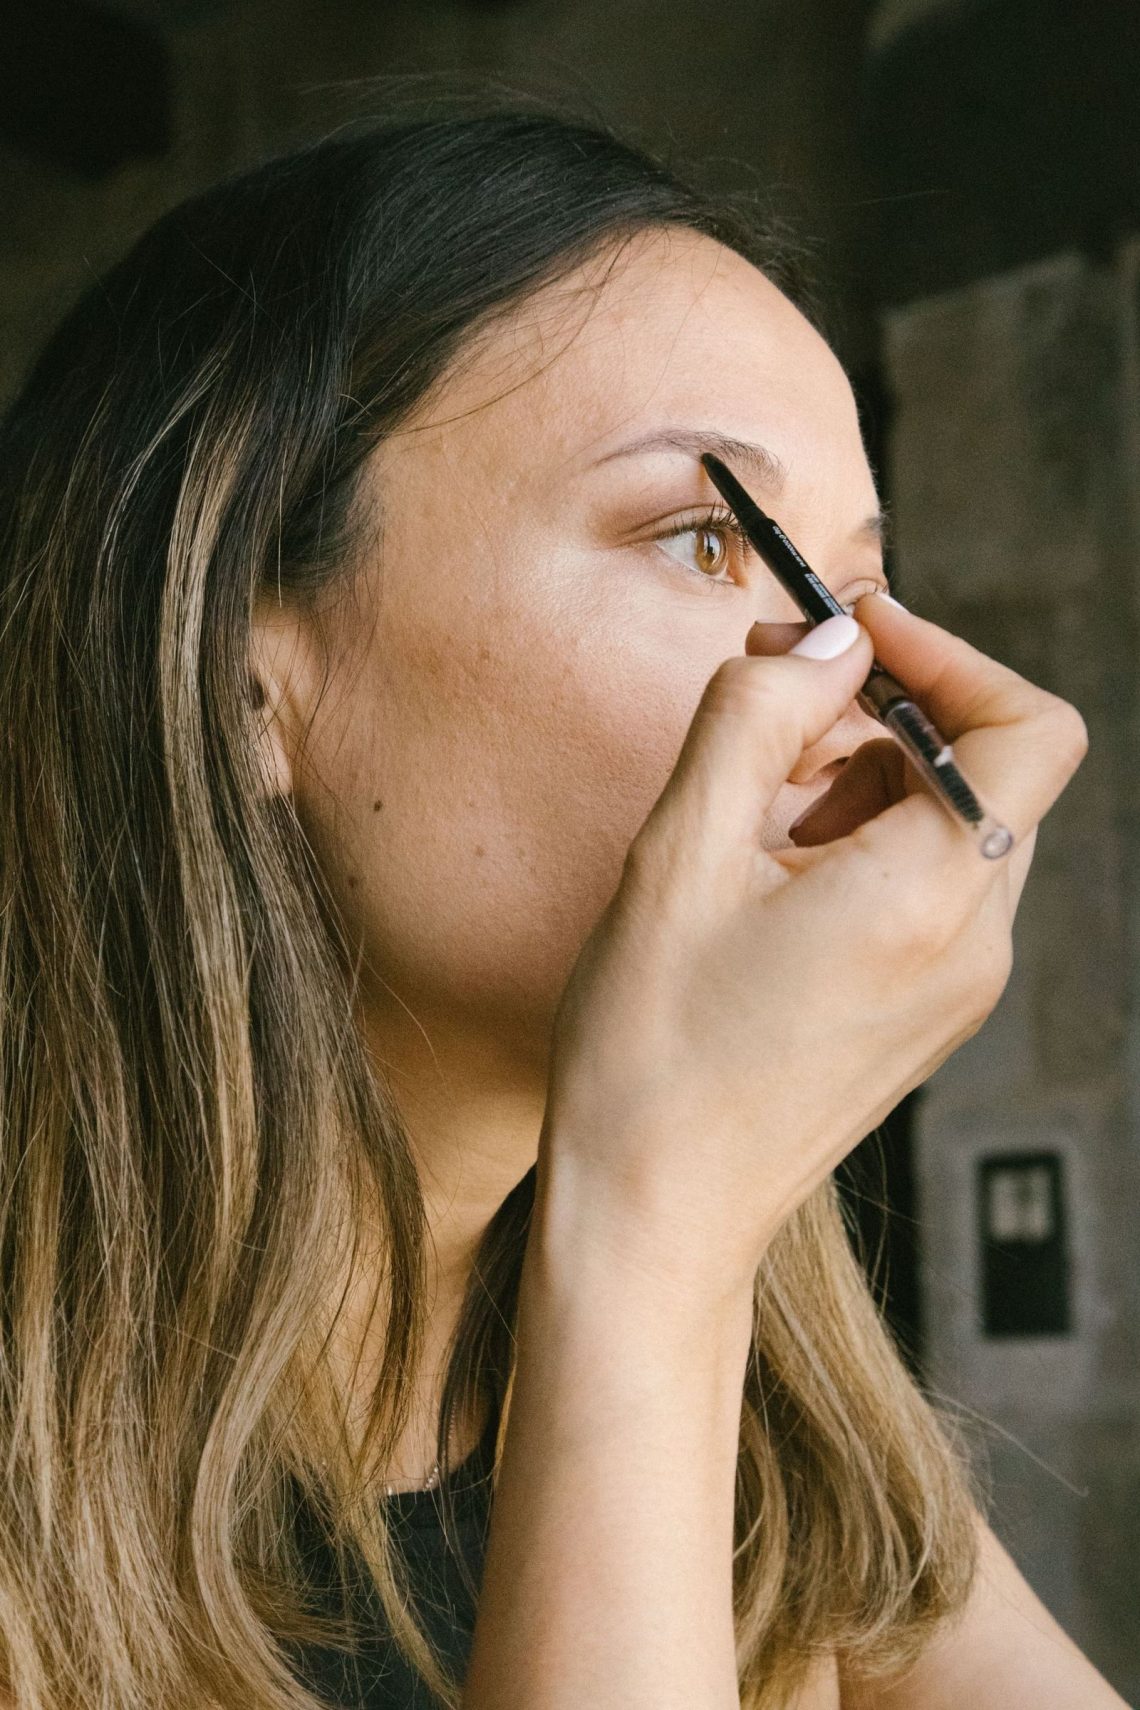
A sparse patch in one brow does not mean both brows need a complete new outline. Targeted pencil work can make the pair look more balanced while leaving most of the existing hairs visible. The aim is to reduce a distracting gap, not turn naturally different brows into identical printed shapes.
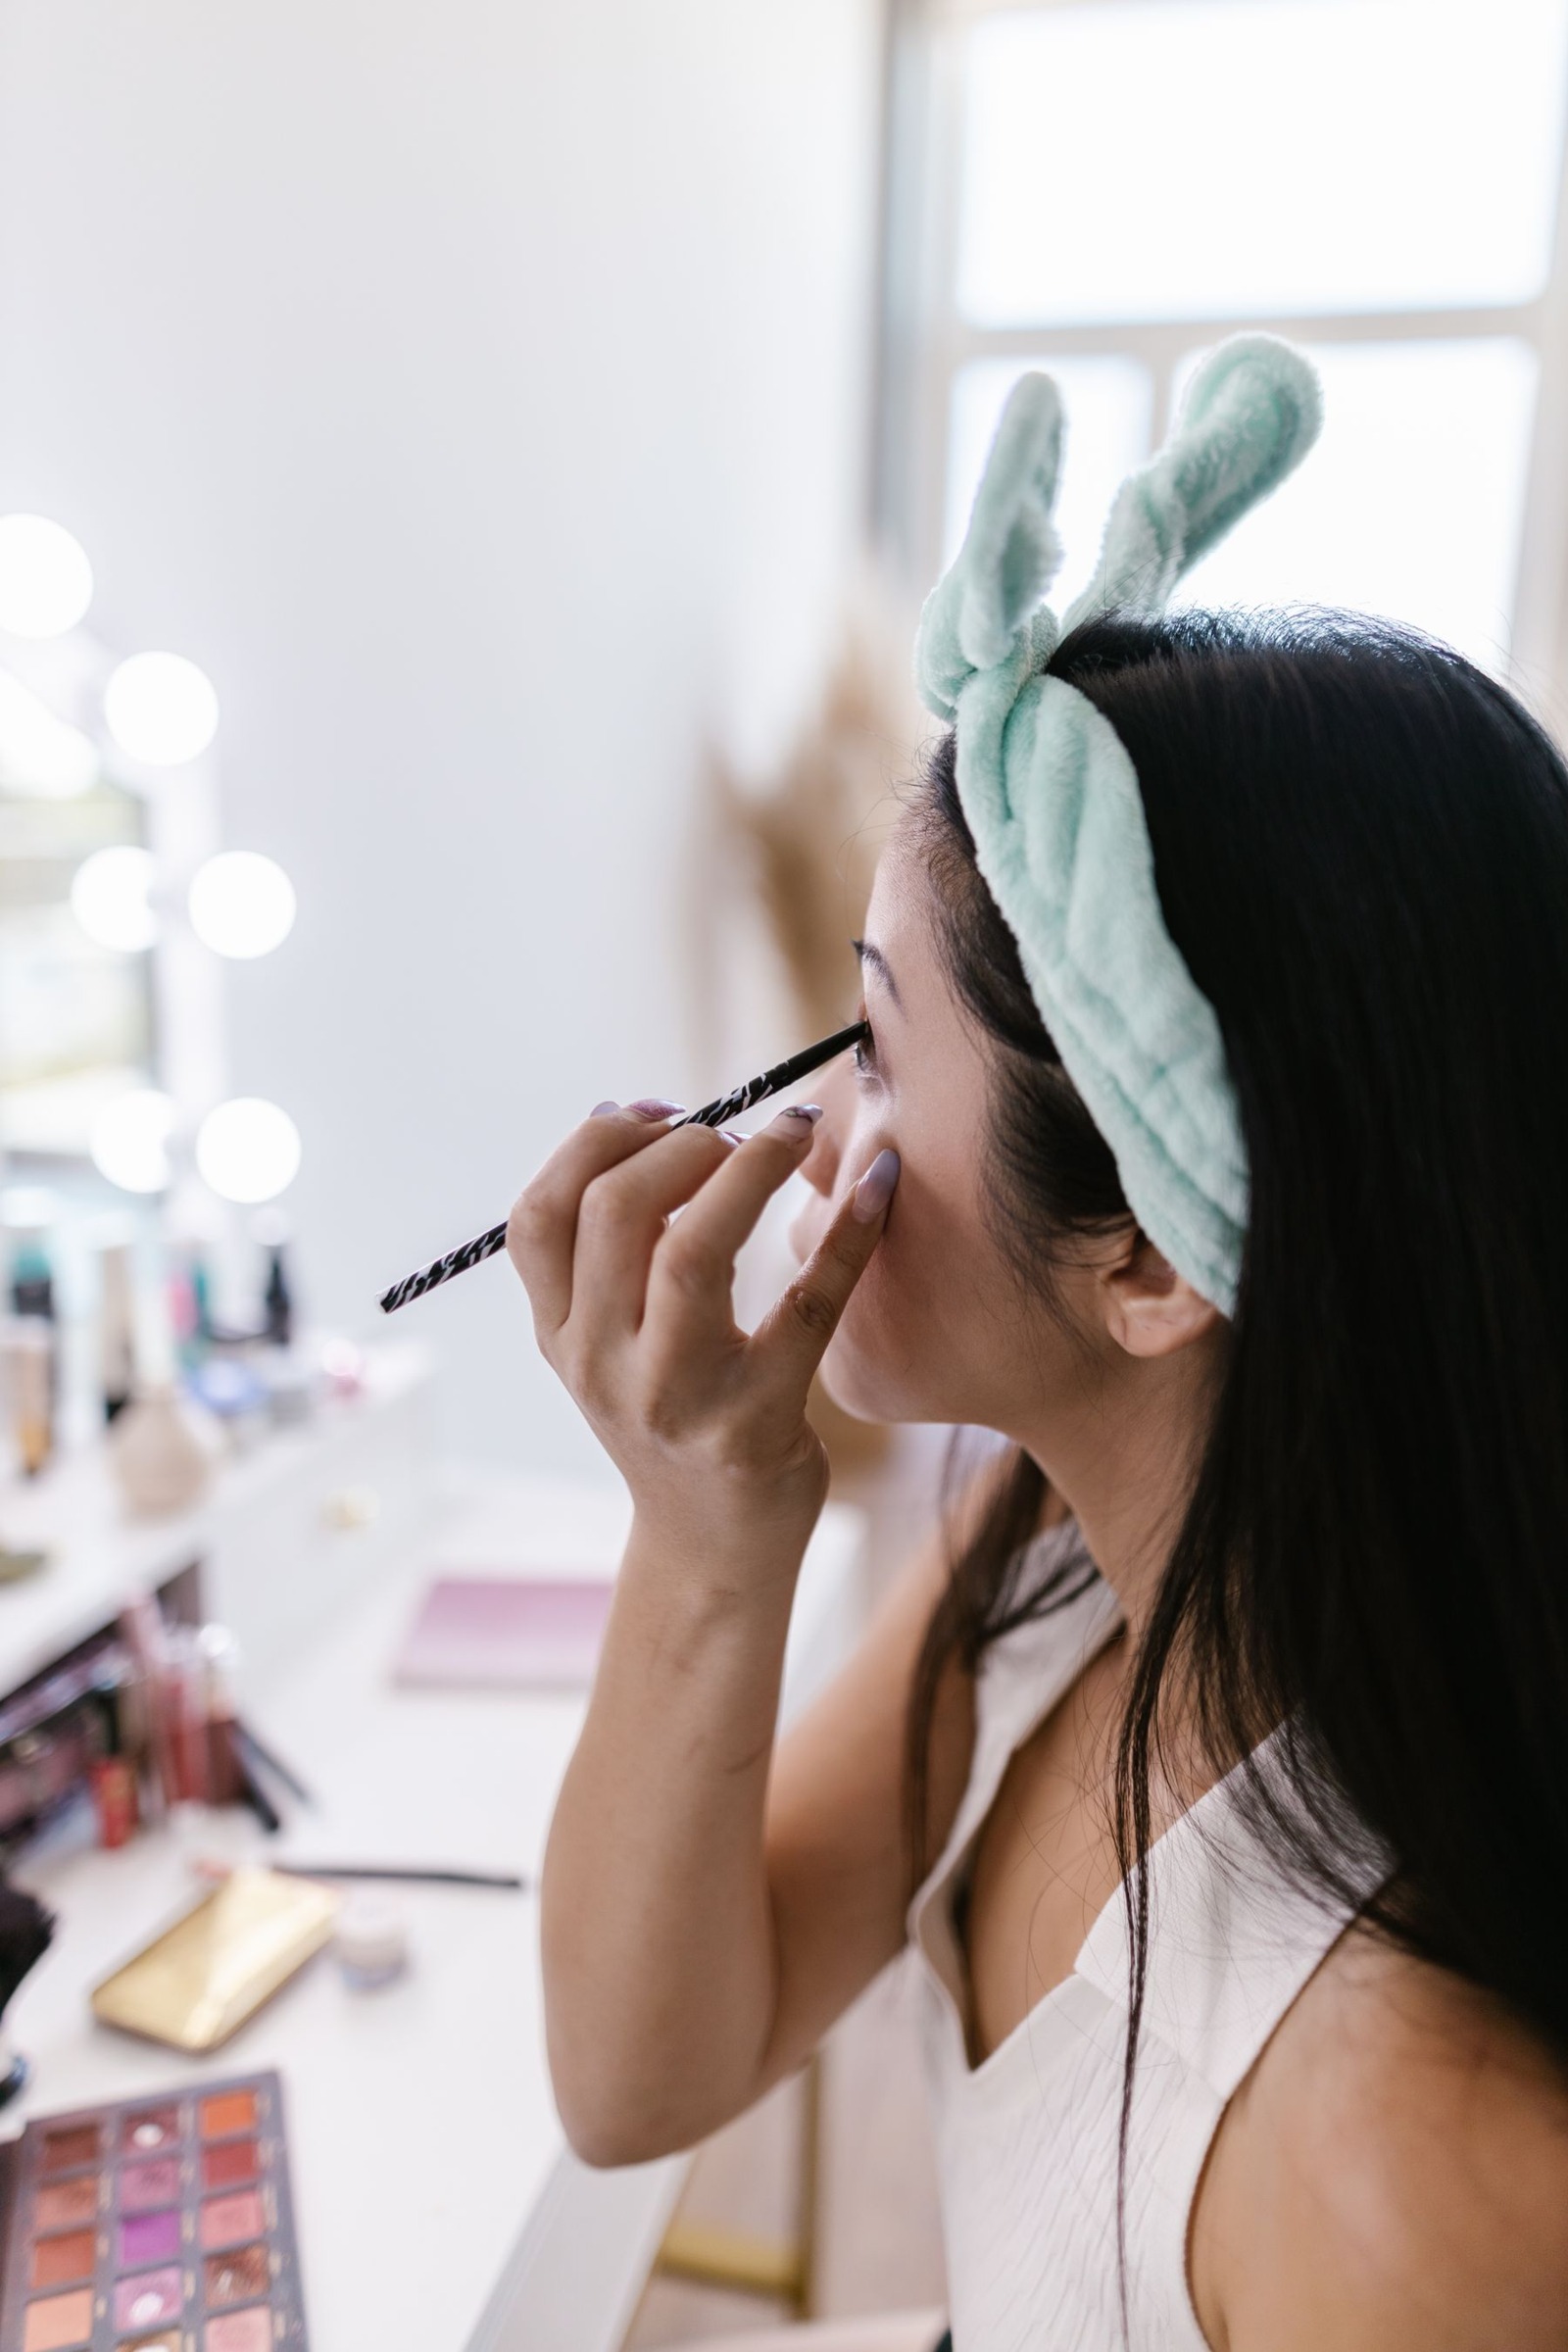
This approach uses a brow pencil and a clean spoolie, with an optional familiar brow gel. It does not involve removing hairs, tinting or changing the brow permanently. Work in ordinary lighting and keep enough distance from the mirror to see how the brows relate to the rest of your face.
Brush first, then identify the actual gaps
Brush the inner hairs gently upward and the outer hairs in their natural direction. Do not force every section straight up if that leaves the brow looking wider than you want. Once the hairs are arranged, inspect which spaces remain visible. Some apparent gaps disappear when neighboring hairs are simply moved into place.
Choose the most noticeable area on each brow. One may need a little support through the middle while the other needs a clearer tail. Applying the same amount in the same location on both sides can exaggerate the difference rather than balance it.
Separate shape from color
If a brow looks lighter overall, it may need a few dispersed strokes rather than a darker outline. If a tail is less defined, concentrate there instead of darkening the front to match. Ask what specifically draws your eye before you touch the pencil to skin.
Select a shade that does not dominate the hairs
Compare the pencil with your brow hairs in daylight. Hair on the head is not always the best reference, especially if it is colored. A pencil that looks too warm or too dark can make even fine strokes stand out. Try a lighter hand before assuming the whole brow needs a stronger shade.
A fine point helps with small marks, but pressure still matters. Test on the back of a clean hand and look at the width of a single stroke. If it resembles a thick stripe, adjust the tip or angle before using it on the brow.
Draw into the gap in the direction of nearby hairs
Begin in the middle or tail, where a slightly stronger mark is usually less conspicuous than at the inner edge. Make one short stroke, lift the pencil and assess it. Follow the direction of neighboring hairs, which often changes as you move outward.
Leave small spaces between marks. Filling every millimeter with color creates a solid block rather than the impression of individual hairs. Avoid drawing a complete dark line along both the top and bottom; those borders can remain visible even after the center is blended.
- Place two or three light strokes in the first visible gap.
- Brush through gently to soften excess color.
- Look at both brows together from normal mirror distance.
- Add another stroke only where the gap still catches your attention.
Keep the inner edge deliberately soft
The front of a brow often looks more natural when it is less dense than the middle. Use the faint product already on the pencil tip rather than starting with a fresh heavy mark. Short upward strokes can echo the hair direction without creating a square corner.
If one inner edge sits slightly farther inward than the other, do not automatically extend the second brow to match. Check your relaxed face first. A small natural difference may be less noticeable than a new patch of pencil placed on bare skin.
Use gel only if it solves a separate problem
If the hairs will not stay in your chosen direction, a small amount of brow gel can help hold the arrangement. Follow its instructions and keep it away from the eye. Apply lightly so the brush does not smear the pencil into a broad patch. Skip gel if the hairs already sit comfortably.
For a heavy section, use a clean spoolie to lift and diffuse some pigment. Correct that area before adding more to the other brow in pursuit of symmetry. Finish by lowering the mirror and looking at your whole face. Stop when the gaps no longer dominate; tiny differences do not need another round of drawing.