A shopping bag often gives warning before it fails: a loose handle stitch, a small hole at a corner, or a seam that opens when the bag is filled. Catching that damage early can keep a useful bag in service. The first decision is whether the material and damage suit a simple home repair.
This guide focuses on ordinary fabric shopping bags, not child carriers, climbing equipment, protective gear, or other safety-critical items. Do not trust a patched bag with fragile or heavy contents until you have checked its condition and tested the repair cautiously.
Empty, clean, and inspect the whole bag
Follow the care label before washing, then let the bag dry fully. Turn it inside out and examine the base, side seams, handle attachments, and the fabric around each damaged point. Look beyond the loose thread: stitching into cloth that is already thin and tearing will not create a strong attachment.
Pull gently across the surrounding material. If several areas are brittle, crumbling, or stretched into holes, stop treating it as a carrying bag. A localized repair makes sense when the surrounding fabric remains sound and you can reach both sides of the work.
- Loose stitching with intact fabric can usually be resewn.
- A small tear may need a patch extending into sound fabric.
- A damaged handle can sometimes be shortened or replaced as a pair.
- A coated or bonded material may need a different repair method.
Gather a compact repair kit
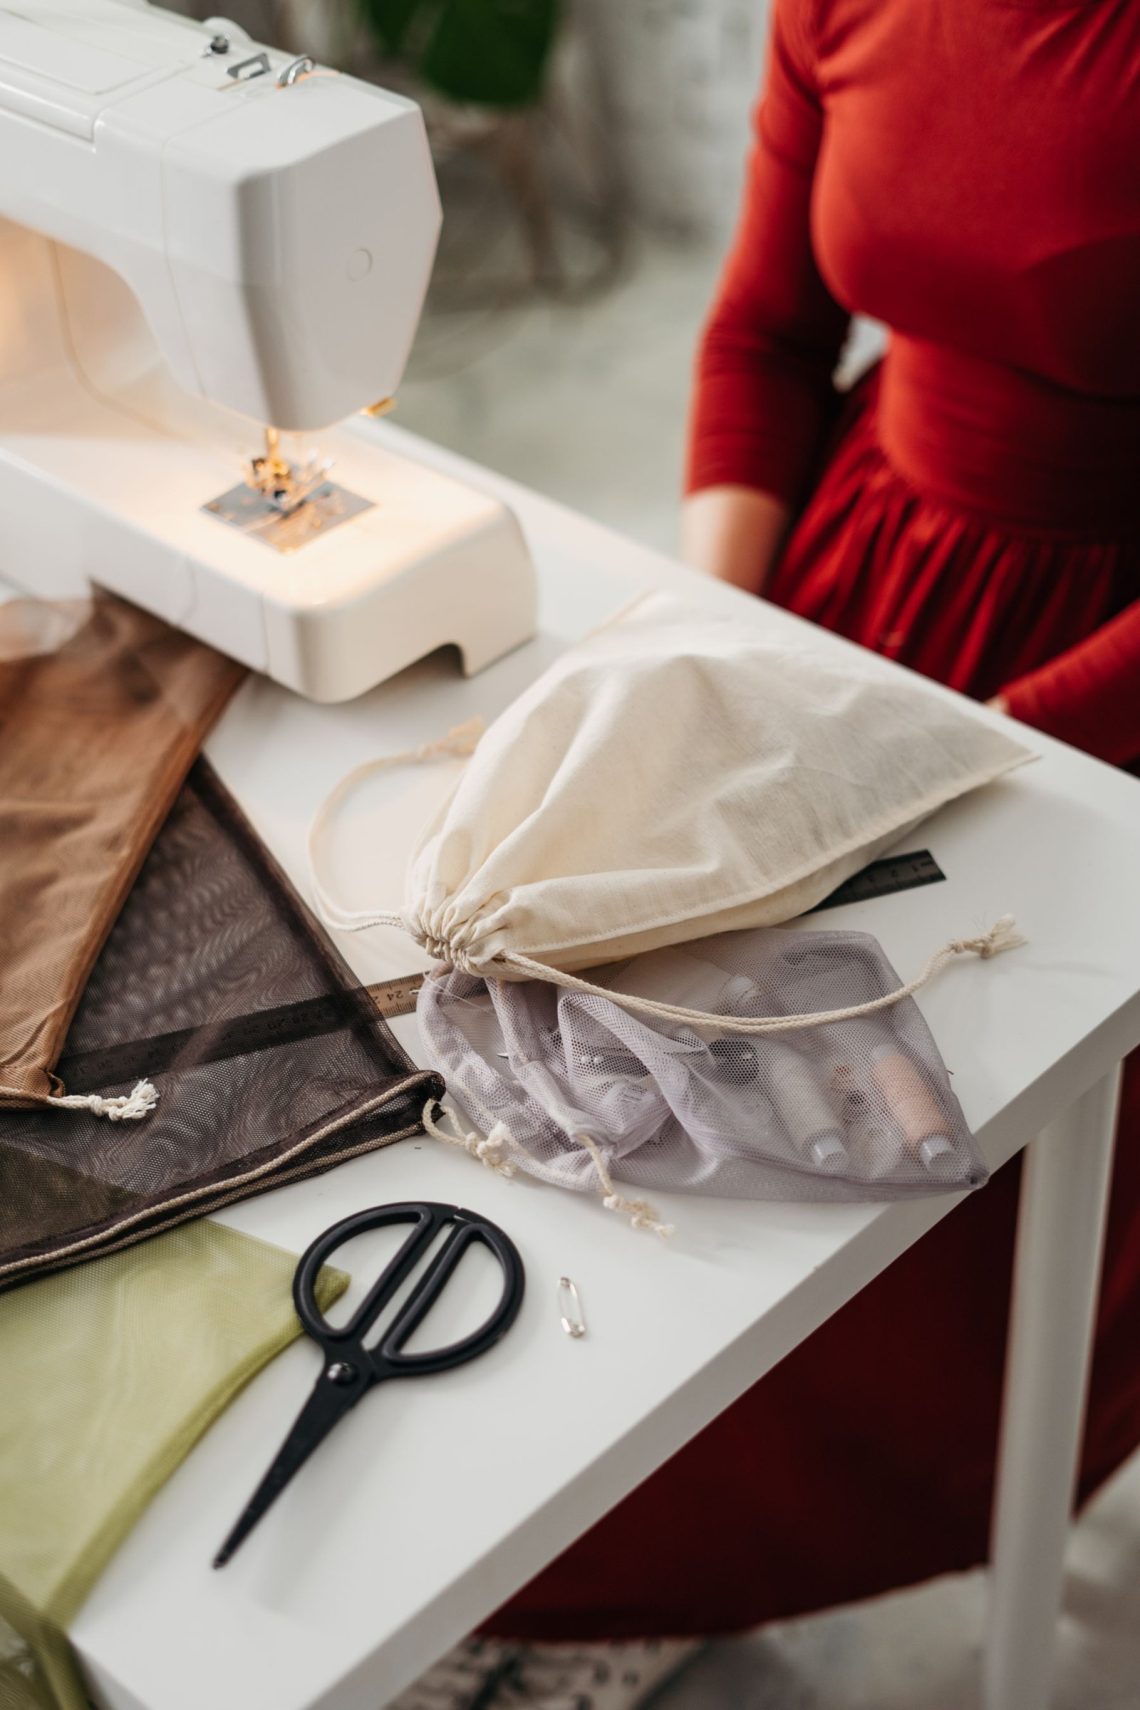
Use a needle suited to the fabric, strong compatible thread, sharp scissors, and a patch of similar washable fabric if needed. A thimble helps push a hand needle through thicker layers. Keep needles and scissors out of children’s reach and count pins back into their container when finished.
A sewing machine can speed up the work, but check its instructions and use the correct needle for the material. Do not force thick strap layers through a machine that cannot handle them. Hand sewing a manageable section is preferable to breaking equipment or leaving uneven skipped stitches.
Resecure an intact handle
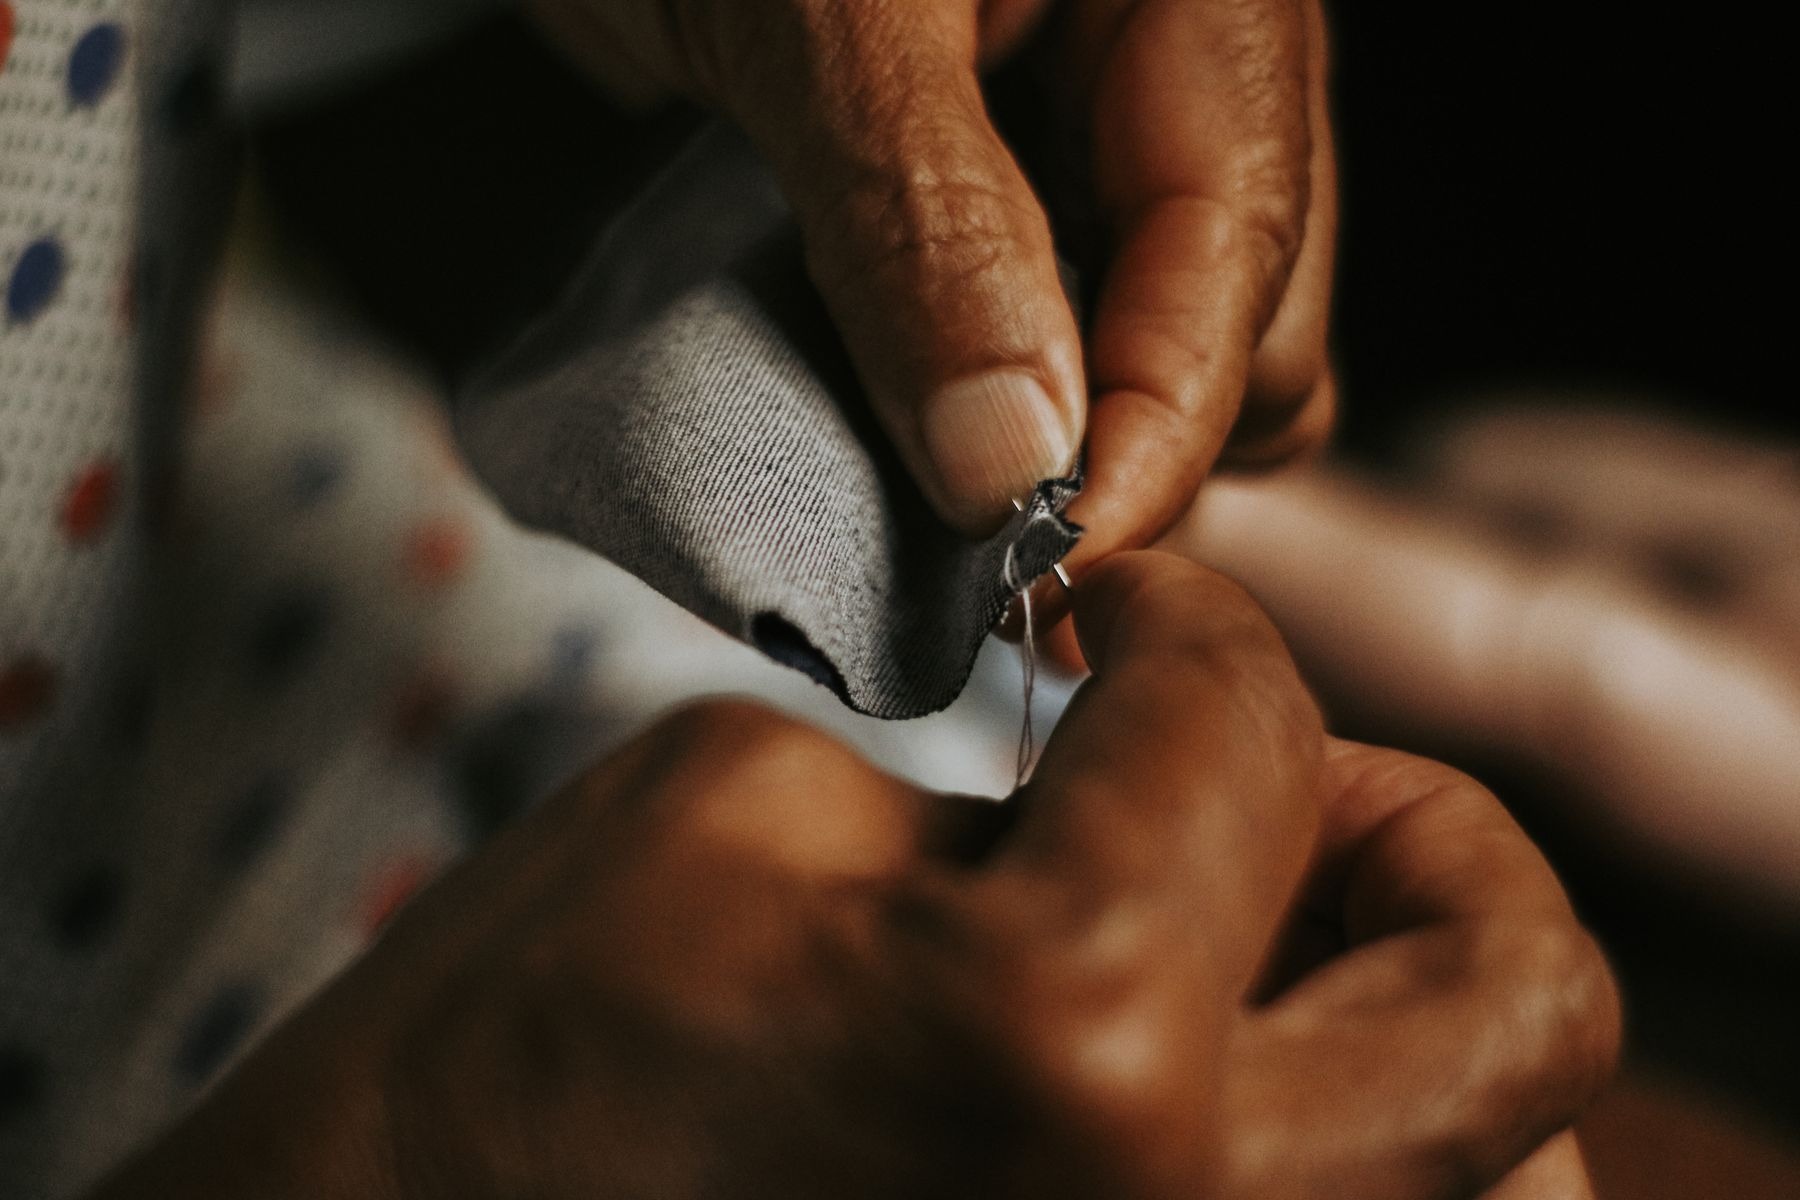
Remove only the loose, failed thread, taking care not to cut the fabric. Position the handle where the original attachment sat and check that its partner remains the same length. Secure the layers temporarily with clips or carefully placed pins, keeping sharp points away from your hands.
Sew through the handle and sound bag fabric, overlapping the undamaged attachment area. A rectangular line of stitching with crossing diagonals can distribute the connection over a wider area when the bag’s construction allows it. Avoid repeatedly piercing a tiny weak spot, which can make the material tear further.
Support thin fabric first
If the attachment area needs reinforcement but the wider panel remains sound, place a suitable fabric patch behind it. Extend the patch beyond the damaged zone and secure its edges before stitching the handle through the reinforced area. Keep the repair flat so it does not catch on items inside the bag.
Patch a small corner hole
Trim loose threads without enlarging the hole. Cut a patch that reaches sound fabric on every side, allowing enough margin to turn under fraying edges where appropriate. Position it inside or outside according to how easily you can sew and inspect the join.
Stitch around the patch with even spacing, then check the original tear is contained rather than exposed at an edge. An adhesive patch may suit some fabrics, but follow its instructions and do not assume a decorative iron-on patch is designed to carry weight. Heat can damage coatings and synthetic materials.
Test gradually and set a lighter job
Inspect both sides of the stitching and remove every pin. Add a few soft, lightweight items, lift the bag close to the floor, and watch the attachment points. Increase only within what the bag’s condition and original purpose reasonably support. Stop if the fabric distorts or stitching starts to pull.
A repaired bag may be better for bread, clothing returns, or library paperwork than dense tins. Label or designate it for that lighter role so another family member does not unknowingly overload it. Keep a sound bag available for heavier shopping.
Prevent the same failure
Distribute weight across bags, avoid dragging corners, and lift by both handles. Empty and dry bags before storing them. Inspect attachments when putting bags back into the shopping kit, while a loose stitch is still a short repair rather than a pavement full of groceries.
If a bag can no longer carry safely, consider whether clean sound sections have a specific reuse, such as a nonfood storage pouch. Keep only material you will actually use; retiring one failed bag should not create an endless pile of imaginary sewing projects.